Fond of outdoor activities? Who isn’t! Camping, hiking, biking, skiing, snowboarding, kayaking, swimming…the list could go on and on. If this list seems like your favorite cup of tea, you know how useful gadgets are. Outdoor leisure activities call for a lot of physical activity and expose us to danger, so in as much as we may be adrenaline junkies, using gadgets, tools, and implements to make the task easier is always welcome.
This is why flashlights, toolboxes, ropes, trekking poles, and so many other accessories are popular among outdoorsy people. Not only do they make the work easier, but they also keep us safe from injury.
Table of Contents
Trekking Pole Use for Beginners
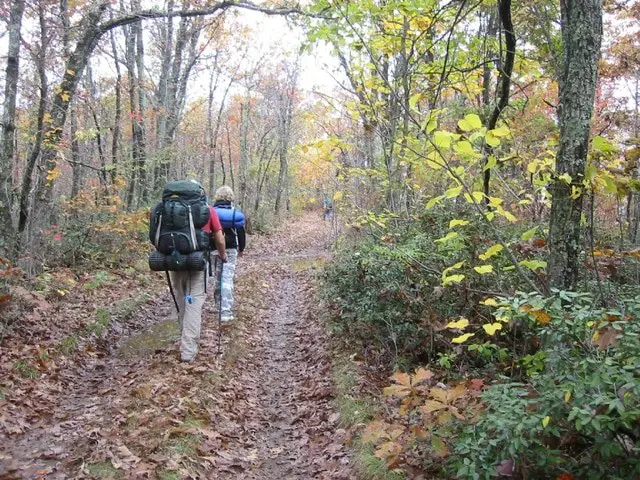
Trekking poles, in particular, are popular among hikers and backpackers. They are incredibly useful for providing additional stability on rough terrain, as well as helping to keep a steady stride going. Despite their popularity, knowledge about the use of the poles may not be so obvious, even with directions coming with each package.
This is why we exist. To help you make the right choice of a trekking pole, and use it appropriately to stabilize your body whether you’re hiking across the country or just out for a weekend expedition.
Before purchasing one, ensure you choose an adjustable pair, one that will yield the right length in relation to your height. Short poles for a tall guy will be more trouble than good, and long ones for a short person will only tire the hiker more.
Besides, adjustable poles come in handy when going uphill and downhill. You should also check the weight. You do not want to be hiking on steep slopes with heavy objects, you just but might throw them and crawl fro stability.
After all, the point is to ease the hike, ain’t it? Ensure to also look for a durable comfortable pair, to give you your money’s worth. With this, you’re armed with the right trekking poles, ready to use them to reduces tension on your knees, which may be just the boost you need to reach the peak of the mountain!
With them you get extra stability, allowing you to hike faster, safer, and for long distances, which will have you achieving your targets. If there’s one thing we nature-lovers know how to do, its tick our goals off a bucket list!
We were all beginners at some point. If you haven’t used trekkers before they can seem incredibly counter-intuitive.
Read on to learn how to use your new trekking poles like a pro, from adjusting the wrist straps to adjusting pole length and even the different considerations when going uphill or downhill.
Step 1: Adjust The Wrist Strap
The wrist strap is one of the most disregarded parts of trekking poles, assumed to just be an accessory, yet when used appropriately could actually go along way in stabilizing your hold on the pole, not to mention that they prevent hand aches and sprains.
To adjust the strap’s length to fit your wrist, simply pull the tension block out. Once you remove the block, you may now pull the loose end to tighten the strap, or the upper portion to loosen it, according to the appropriate size for your wrist. After attaining the desired size, push back the tension block.
From here, put your hand through the strap you had prepared, allowing it to rests snugly around your wrist. Grasp the strap with your hand and tighten the grip, ensuring its neither too loose nor too tight. Loose wrist straps are a common mistake, which makes the poles unable to efficiently support the weight of the hand.
Over-tightened straps could result in friction blisters, causing discomfort. A perfectly adjusted strap should be tight enough to support the hand’s weight on the pole, but lose enough to allow circulation to the hand.
Step 2: Adjust The Pole Length
Adjust the pole length until it’s at a point where your elbow makes a nearly perfect ‘L’, at 90 degrees. When doing this, ensure that the number at the top segment of the pole is similar to the one at the bottom segment.
Step 3: Tighten Your Trekking Poles
Flip the clasp open and make quarterly turns on the screw until the appropriate tension is arrived at. This bolt should be tight enough to support your weight without sliding when the clasp is closed. Remember the right gives tight, the left gives loose, a simple phrase to help you remember adjustment directions.
There you have it! You are now ready for the easiest walk over the roughest terrain. As the cherry on top, here are techniques on walking with your trekking poles on:
Walking Uphill
Keep the pole short enough to help you push off. Instead of placing the poles’ tips ahead of you, therefore, place them close to your body, then push off rather than pull yourself with them ahead of you.
Walking Downhill
In this scenario, adjust your poles to be a bit longer whereby you’ll be standing upright when you plant the pole in front of you. You could also keep one shorter and one longer one to tramp over rough diverse terrains.
Wrapping Up
There’s all you need to know to be a master in trekking ropes. When trudging rocky areas, be sure to check when the poles slip between rocks and carefully remove them to avoid damaging them or worst still, spraining your wrist or legs. With this, your next hike will be a walk in the park!